Minecraft is a popular game that allows players to explore, create, and build their own virtual worlds. However, one common issue that many Minecraft players encounter is OpenGL errors. These errors can cause the game to crash, freeze, or display strange graphical glitches.
If you’re a Minecraft player who has experienced OpenGL errors, you know how frustrating they can be. But don’t worry, there are several steps you can take to fix OpenGL errors in Minecraft.
In this post, we’ll explore some of the common causes of OpenGL errors in Minecraft and provide step-by-step instructions on how to fix them.
Remove Pre-Installed Shaders
Players of Minecraft may set different environments and terrains using shaders. They function like mini-models that let you change the game’s texture. You may, for example, use this tool to switch the appearance of Minecraft’s surroundings from winter to summer. It is important to remember that shaders consume application resources. Additionally, they may conflict with other mod modules.
So, turning off each shader one at a time is one method for resolving OpenGL issues. By doing this, you can determine which of them has been causing the problem. The most recent one you added to the game should be disabled first, and then you should attempt to work your way down.
- To launch Run, press the Windows key and R.
- Without using quotations, type “%AppData%” and press the Enter key.
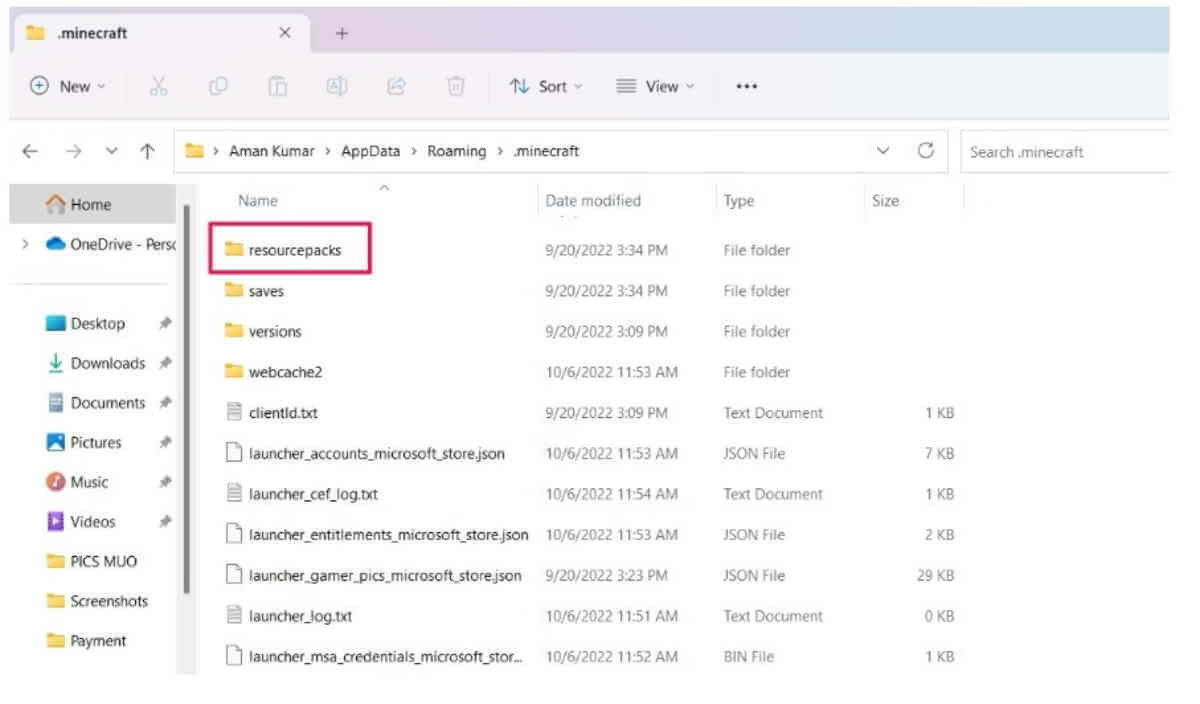
- Locate Minecraft > resource packs > shaderpacks in the AppData > Roaming folder. All of your additional shaders may be found here.
- To delete a shader, select it using the right-click menu and choose Delete.
Update Graphic Drivers
OpenGL issues frequently indicate out-of-date or damaged graphics card drivers. The best remedy in this situation is to upgrade your visual card driver. There are three ways to accomplish this right now:
- Use Device Manager to update the graphics card driver
- via the manufacturer’s website; the video card driver may be downloaded.
- Utilising the One-Click feature of Auslogics Driver Updater.
Using Device Manager
- Right-click the Windows symbol by going to your taskbar.
- From the list, choose Device Manager.
- After launching the Device Manager, expand the items under Display Adapters.
- Click the context menu when you right-click your graphics card and choose Update Driver.
- Select the “Search automatically for updated driver software” checkbox on the next window.
Allow Device Manager to look for the most recent graphics card driver. The driver should also be installed automatically by the utility. But be careful not to depend too heavily on it because it could not catch the manufacturer’s most recent update. Therefore, you could decide to attempt the following technique.
Delete Mods or Trainers
If shaders aren’t the issue, then perhaps another mod is. The flexibility of Minecraft to user-made modifications is one of its greatest features. Installing modifications that adjust or completely alter game features, such as the setting, characters, colours, attire, and accessible objectives can increase playability and game enjoyment. The list is essentially, infinite.
But the game’s ability to function properly frequently suffers as a result. Some modifications aren’t well tested before being introduced to Minecraft, which might lead to bugs. Additionally, some modifications are incompatible and might conflict when installed together. This might be where your computer’s OpenGL problem first appeared.
You may review all the installed Minecraft modifications and remove any that are troublesome or superfluous to solve this.
- To launch Run, press the Windows key and R.
- Without using quotations, type “%AppData%” and press the Enter key.
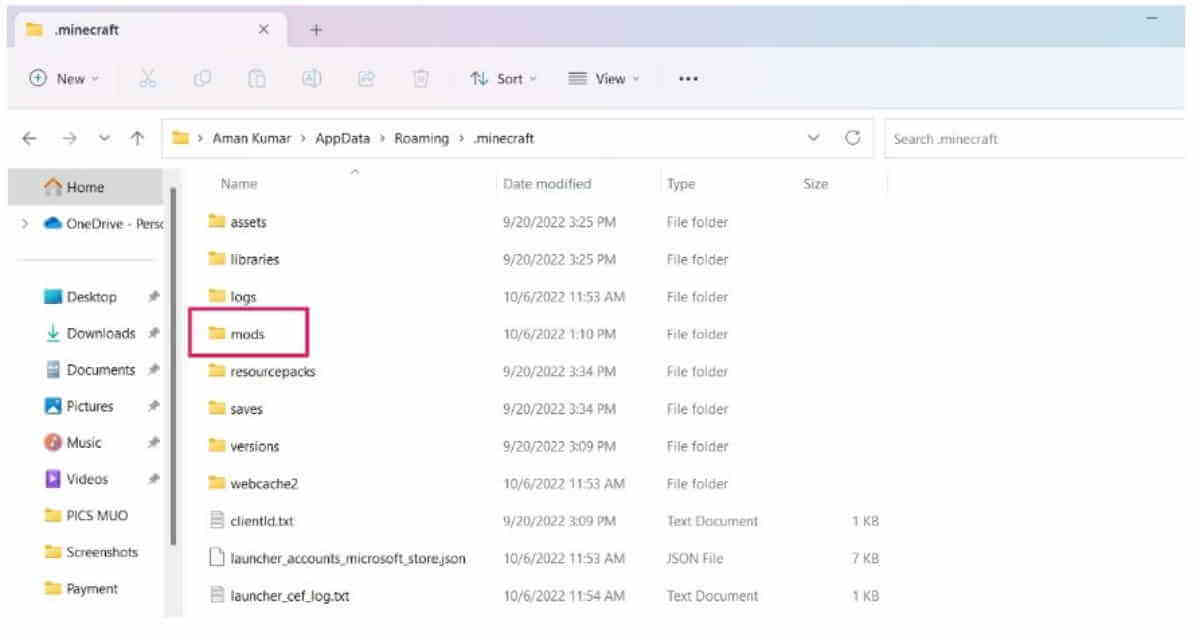
- Go to Minecraft> mods in the AppData > Roaming directory. All of your newly added modifications may be found here.
- Delete all the problematic modifications or those you don’t need anymore.
- Alternatively, you can remove all mods by deleting the mods or trainer folder.
Update Java Version
Java file packages are essential to the functionality of games like Minecraft and others. It’s important to note that the game’s modifications are all in Java format. Now, if the Java packages are not correctly installed on your computer, they will not initialise properly, resulting in OpenGL issues.
Change the MXML file
If Windows 11’s OpenGL problem persists, you might need to make changes to the game’s MXML file. This is how to accomplish it:
- Launch the Steam desktop application.
- Search the installed games area for Minecraft. Then click the game’s right-click menu and choose Properties.
- Choosing the LOCAL FILES tab.
- Go to Binaries > Settings by selecting BROWSE LOCAL FILES and clicking.
- The MXML file may be found right here. Launch it. You’ll observe that it has a lot of setup options.
- Change the value of FullScreen from true to false by locating it.
- Next, modify ResolutionWidth and ResolutionHeight to correspond with the screen resolution options on your device.
- Save the file after you’re finished, then leave.
- Try reopening Steam and then attempting to play Minecraft.
Remove Hotfix Patch Minecraft
Players can also choose to patch their OpenGL with a “hotfix” file, which will typically resolve the current problem.
Follow the video tutorial below to install the hotfix patch in Minecraft. Many users, particularly those who were experiencing the “OpenGL Error1281” variant, reported that this resolved their problems.
See “Show GL Errors” and fix the errors
Players can just cause the GL error to not show if none of the aforementioned methods will correct the issue. Although this won’t solve the issue at hand, players can decide to disregard these mistakes at their discretion. Players must first go to the “Options” menu in Minecraft to disable GL Errors. The next step is to navigate to “Video options,” choose “Others,” and then switch “Show GL Errors” to “Off.”
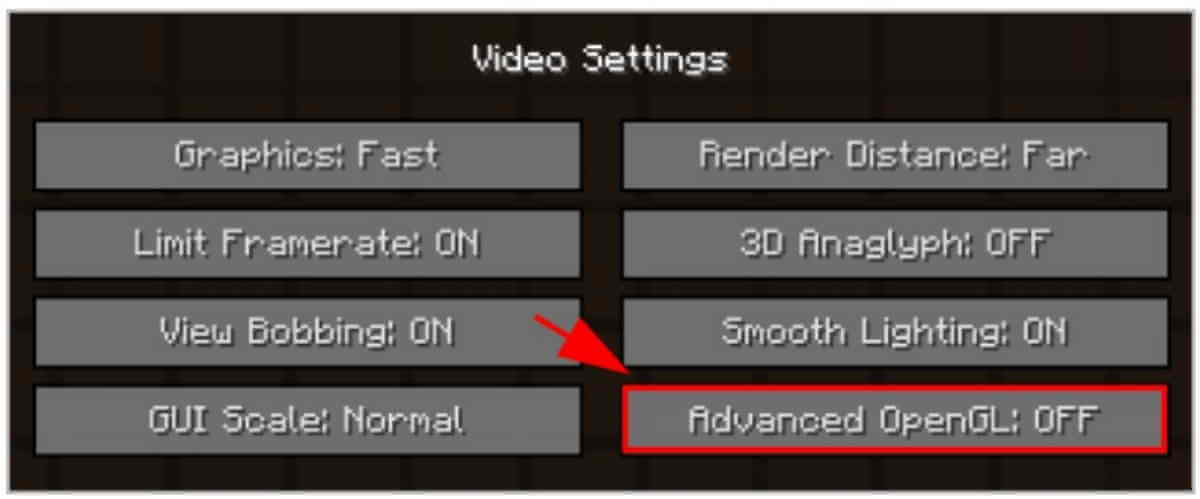
Change Game Setting
Misconfigured in-game settings in Minecraft might cause the OpenGL problem. By altering the settings, you can remedy the issue.
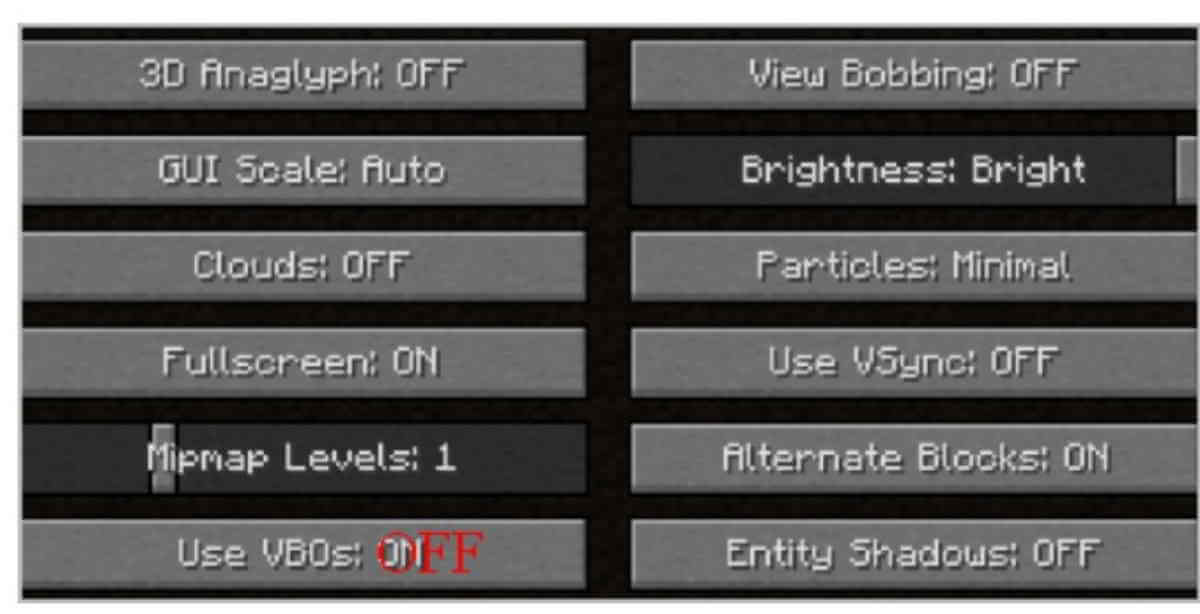
- Open Minecraft and select Options > Video Settings from the menu.
- Modify the GUI Scale, VSync, Smooth Lighting, and Graphics settings.
- Since the settings will vary depending on the machine, you can switch between them until you find the one that solves your issue.
Relaunch the game after making the necessary configuration changes to see whether the issue persists. If so, try the following recommendation on the list.