Creating a professional or custom email address increases credibility and brand strength, particularly for businesses or individual brands that are based on establishing credibility.
Creating a custom email address on the cPanel is still easy, even for someone with minimal knowledge or skills in the technical aspect of computing. A custom email address shows professionalism, as it is not based on generic email services.
In this tutorial, you will learn how to create a professional or custom e-mail on cPanel, saving you money that you would spend otherwise on email services.
Benefits of Having a Custom Email Address
Professionalism: A custom email address looks more professional and polished than a free email address. This is especially important if you are using email for business purposes.
Branding: Your custom email address is an extension of your brand. It helps to create a consistent and memorable brand identity for your business or yourself.
Credibility: A custom email address can make you appear more credible and trustworthy than someone who uses a free email address. This is because it shows that you have invested in your own domain name and take your online presence seriously.
Control: With a custom email address, you have more control over your email account. You can choose your own email provider, set up your own email policies, and create as many email addresses as you need.
Flexibility: If you switch email providers, you can keep your custom email address. This is not possible with a free email address.
Using cPanel to Create Custom Emails
cPanel is a popular web hosting control panel that can be used for managing various web hosting services. cPanel provides a way for you to create a custom e-mail address that is easy to remember and easy to use.
The main functionality of cPanel is to manage all aspects of your website hosting, such as databases, emails, mail-forwarding, FTP accounts, etc.
In this tutorial, we are going to learn how to create an email from Cpanel. More precisely how to create an email account in yourname@yourdomain format.
In order to do so, it is required that you have an active domain and active hosting account. It is not necessary that the website is also live, domain alone is enough.
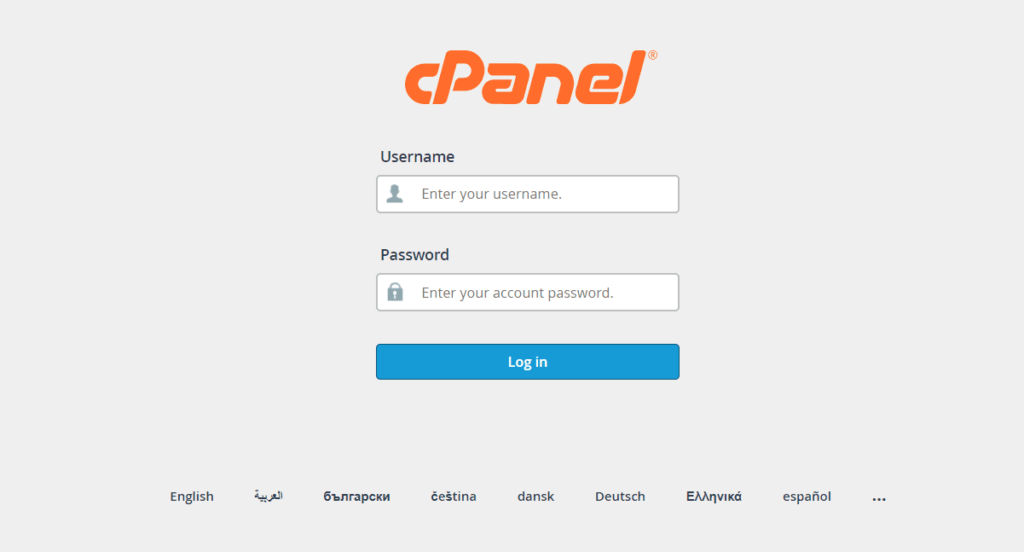
1. First of all, login to your cPanel
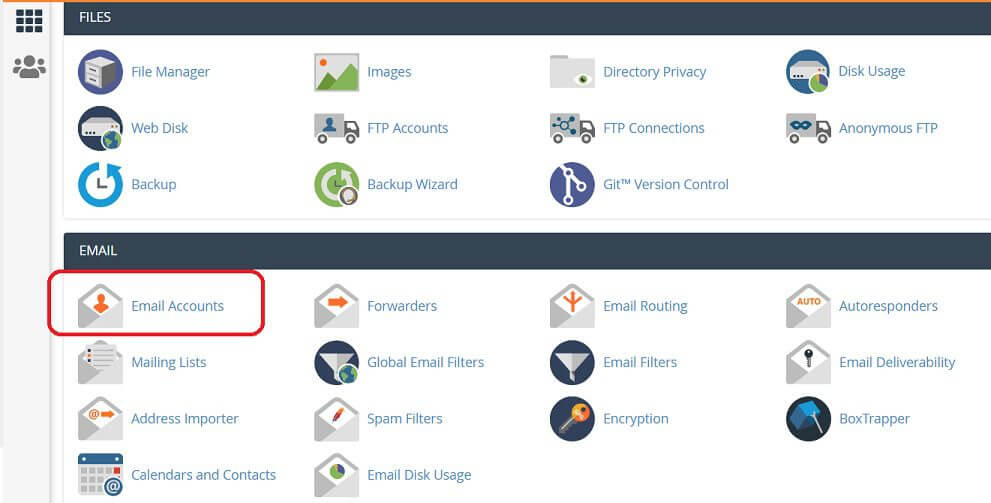
2. Now go to Email section
3. Now choose the email prefix and select the domain you want to create email for. For example I am going to create admin@digitalgyan.org in this tutorial.
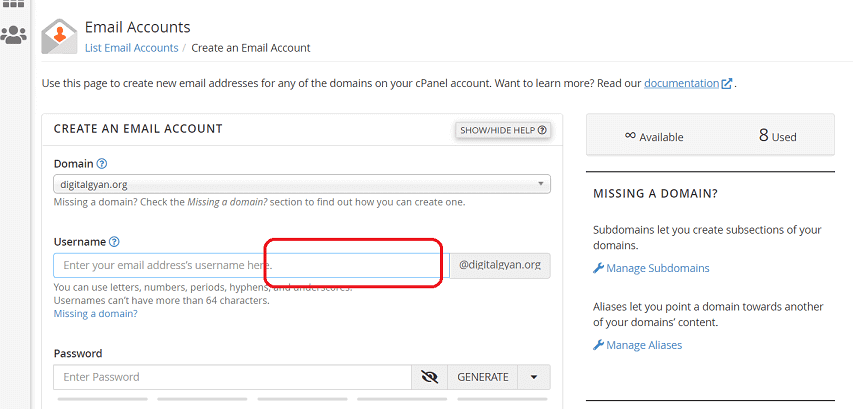
4. Create a strong password using letters, numbers, and special characters
A strong password acts as a formidable barrier against hackers and cybercriminals attempting to gain access to your personal information, financial accounts, and other sensitive data. Weak passwords, like birthdays or dictionary words, can be easily cracked using automated tools, leaving you vulnerable to data breaches and identity theft.
5. Select unlimited at mailbox quota option.
However, if you are using a limited server you can specify the memory size limit of the mailbox.
Click on Create an Account. It is done.
You will see a confirmation. No need to close the window; it will be done automatically.
Now it is time to check mail from your custom email created using the above method. You need to check Email account options right below the confirmation message. Click on “More” dropdown and select Access Webmail
Now you will be redirected to a page where a list of webmail options linked to your hosting service provider will be given. Like in my case I have 3 options i.e. Horde, Roundcube and SquirrelMail.
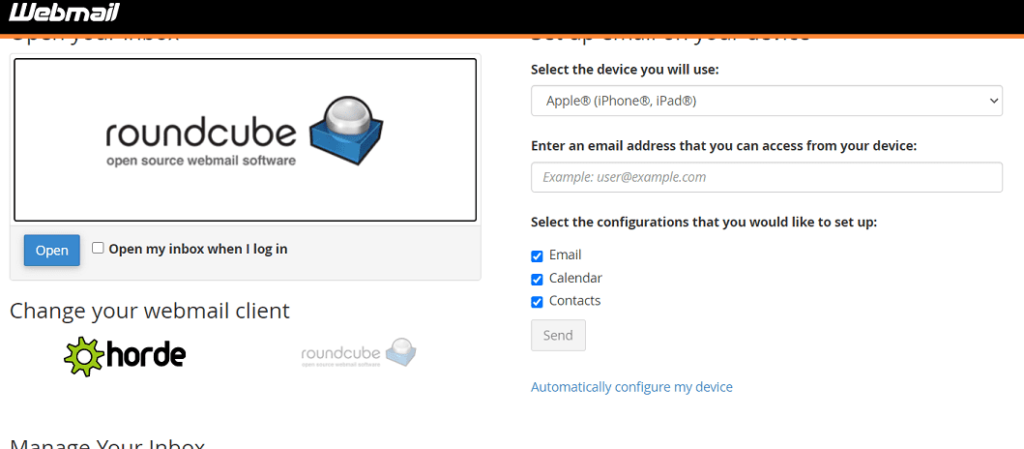
I have selected Roundcube as default webmail and a screen like following will open.
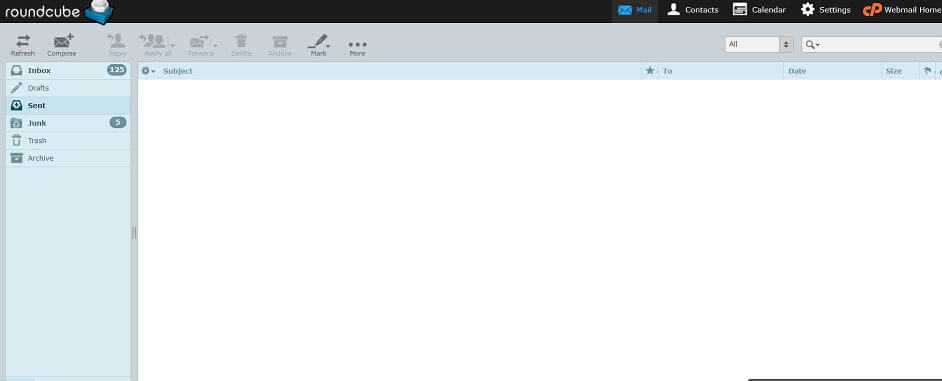
Congrats!!! Every step has been followed correctly, and the email has been set up properly. You can also integrate your custom email with your other email clients, like Outlook, or with the Gmail service. We will learn that in our other tutorial. I hope you enjoyed and benefited from this tutorial. If you have any doubts or questions feel free to ask in the comment section.